Friday 16 August 2013

Needle Felt Gruffalo

I bought a needle felting starter kit from a friend of mine, because I had an idea to try and create a Gruffalo character using felt. Bearing in mind that I had never used needle felt before, I went ahead & threw myself right in at the deep end. I had no idea just exactly how you were supposed to start making a sculpture, so I started with the body shape & hoped for the best.

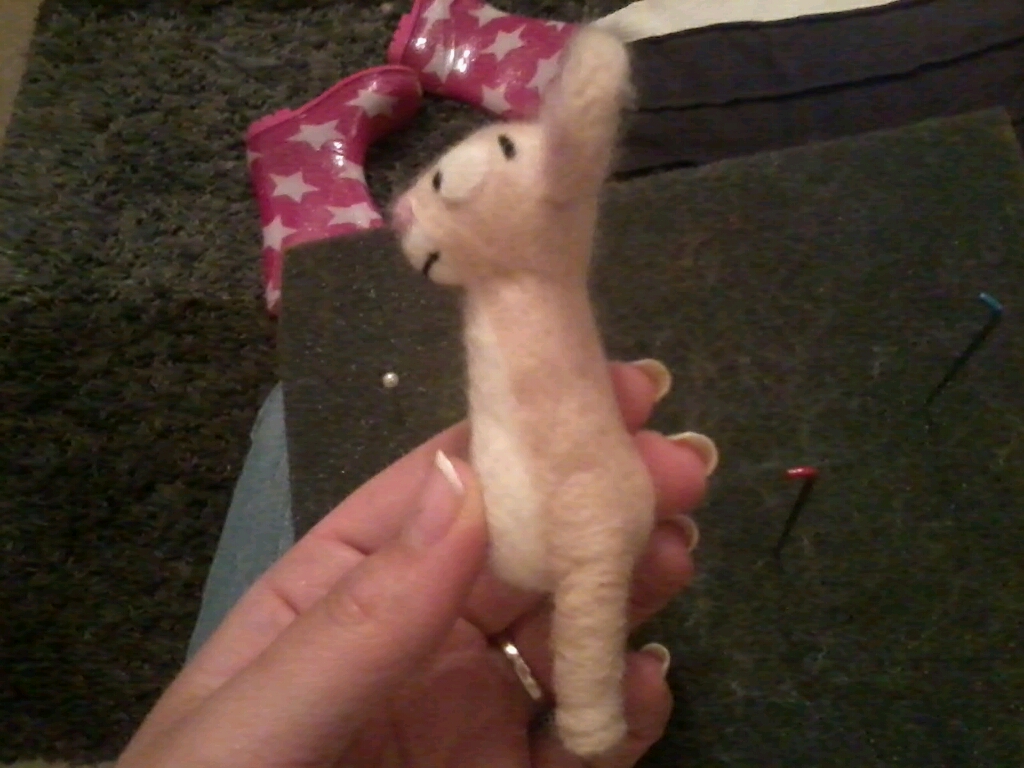
I first made his tummy, his legs, and his tail


I used brown wool for his body, legs and arms, and was starting to get a feel for the process. By the time I got to the head, I decided I would have a go at using cushion stuffing (that fluffy polyester stuff) to make the basic shape & then felt the coloured wool onto it, I decided that this gave it a much firmer texture & did not use up as much wool.

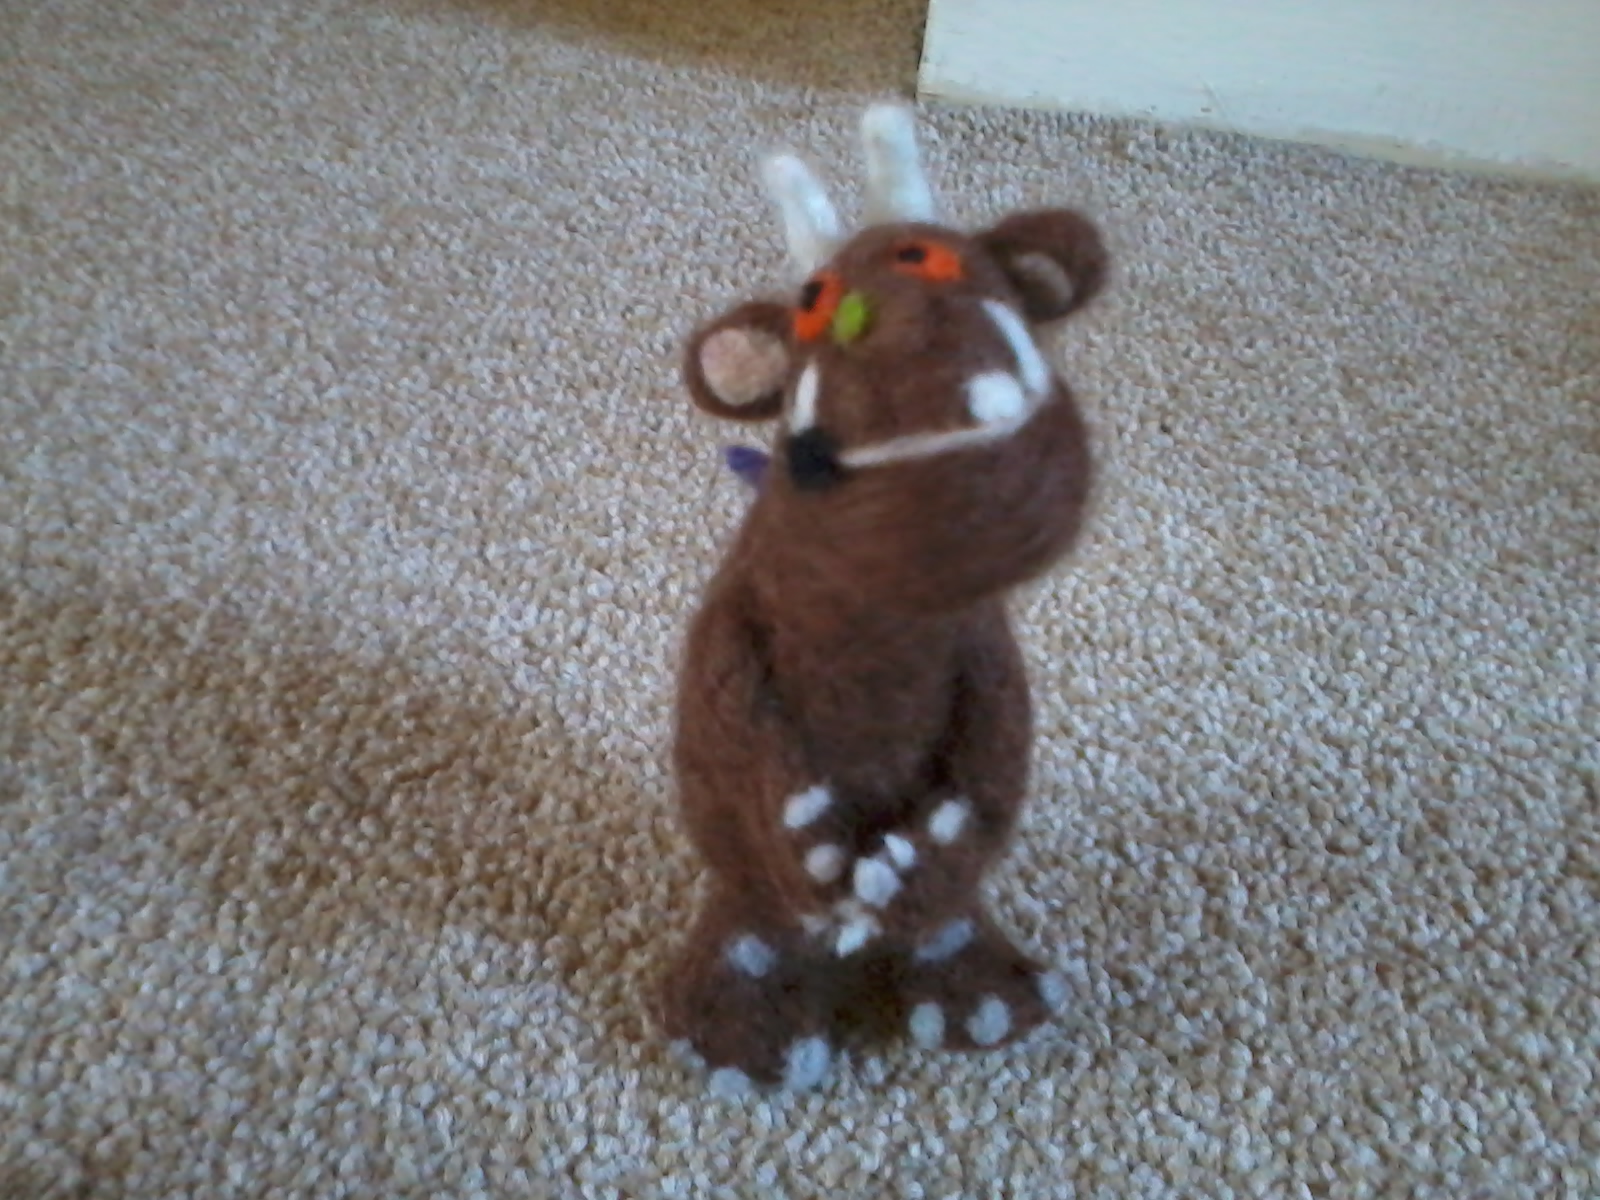
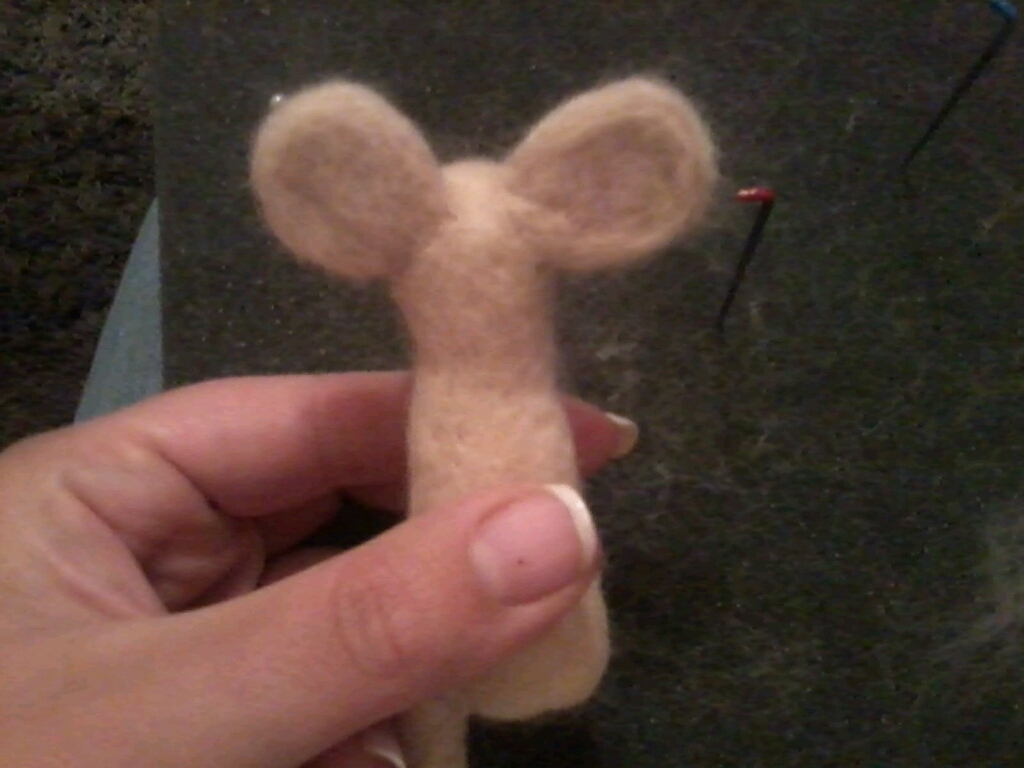
I added all the small details to his head, such as eyes, horns & poisonous wart, then felted the head to the body & added his arms. The last details added were claws and his purple prickles all over his back.


I was more than a little bit chuffed with the finished item! I love him!!! Not bad for a first attempt!!!

I imagine that there will be professional needle felters cringing when they see this, as I probably broke every rule in the book, and just made it up as I went along. But I think that is one of the joys of this fabulous little craft; I don't think you can get it wrong. It was so much fun to do, surprisingly easy & the possibilities are ENDLESS!!!!!!


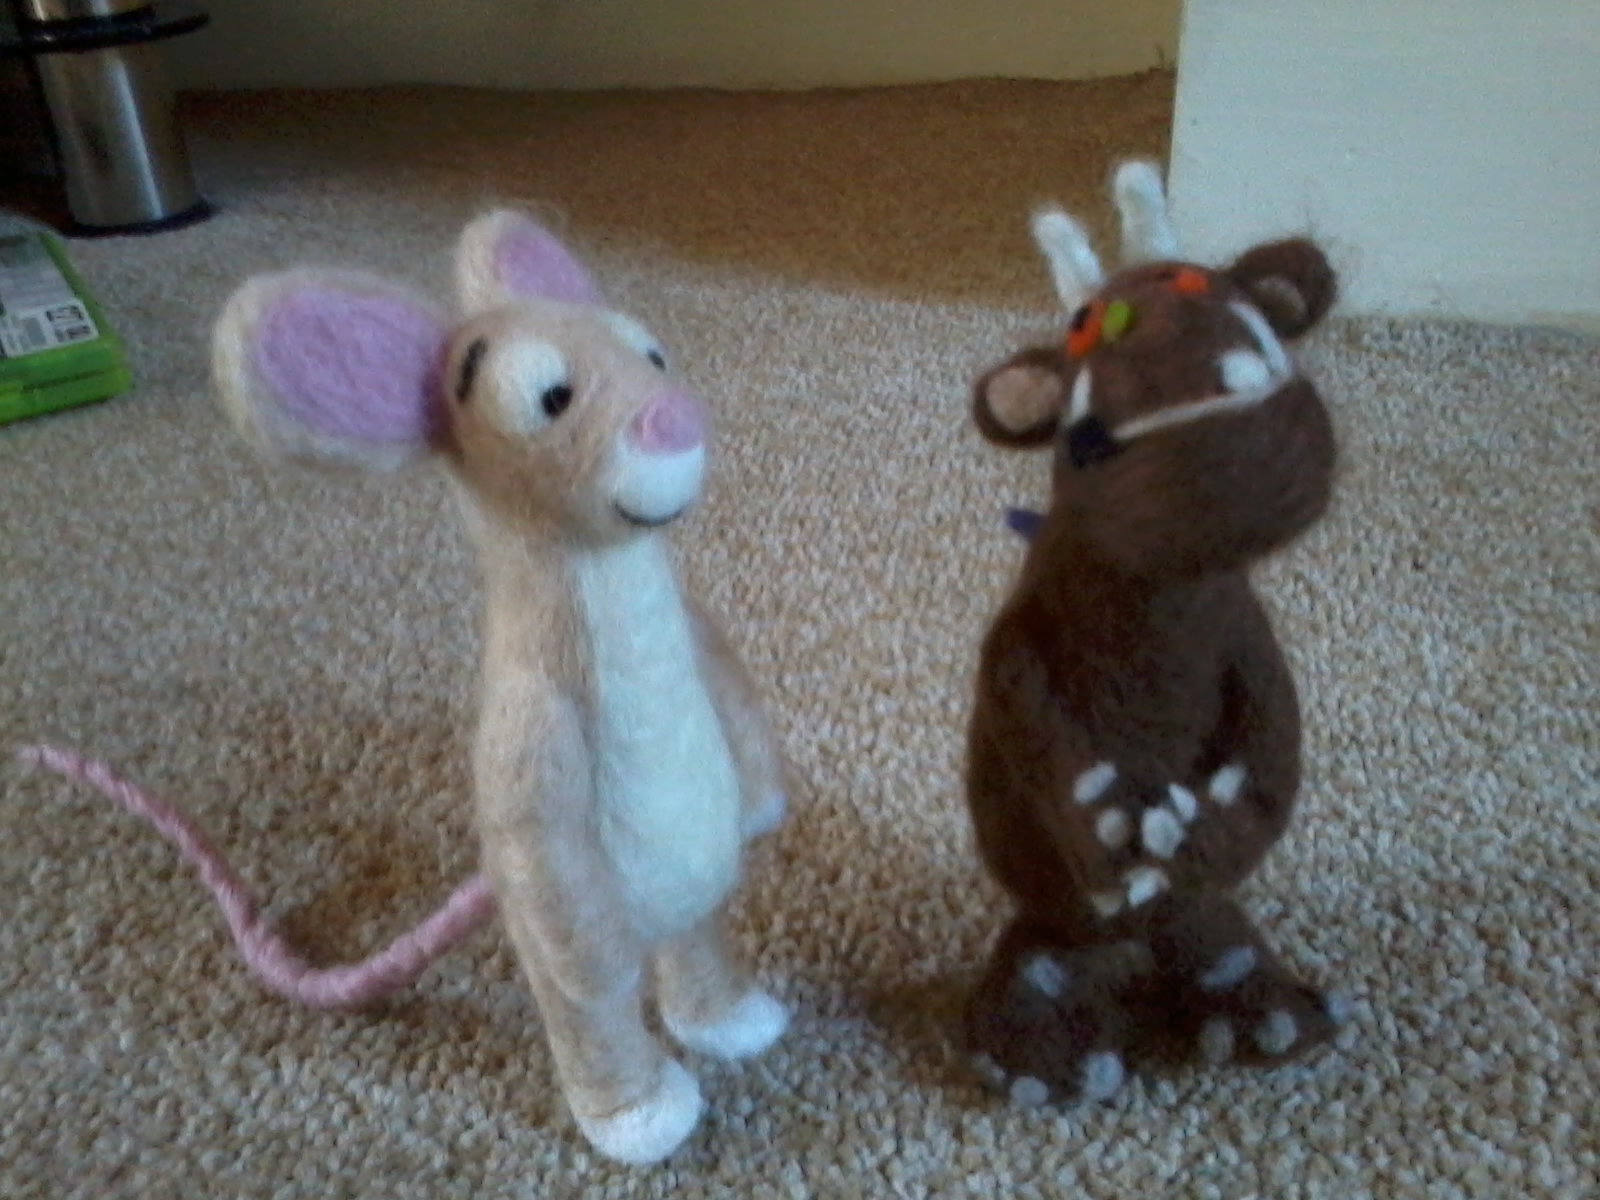
Update: I decided that my Gruffalo needed to be a bit "chunkier" so I've been fattening him up a bit & he is looking much more, well, Gruffalo like. Pictures to follow, so watch this space! Right folks, here he is, now slightly chunkier. He is officially finished.

Thursday 15 August 2013

Needle Felt Gruffalo Mouse

Right, I decided to get my back side into gear & make a start on the other Gruffalo characters. I thought I'd opt for the "little brown mouse". I meant to take more pictures at each stage, but I got so enthralled in it that I forgot! Sorry! I promise I will take more on my next project. So again with this one, I started the basic shape using cushion stuffing:
Then I added more stuffing to build up the shape of his head & tummy. Once I was happy with the shape, I added fur (this was the most suitable of all the colours I had) I think that really the mouse should be a little darker & slightly more 'tanned' colour, but hey, I had to make the best of what I had available. Anyhoo, I then added white for his tummy and then the detail of eyes, eyebrows, smile and his ears:
Then, I attempted to start on his limbs... Well... a leg! I say attempted, because I really have no clue as to how it's supposed to be done. This is what I have come up with so far...
I'm not too happy with this leg. Its a bit wobbly. I think I may take it off & start over. But it was getting late, and I needed to get to bed so I will come back and finish him off (once I have done a bit more research into how to make limbs!). There are quite a few things that I think need 'tweaking' but I will do that once all his arms and legs are finished.


Update: I think I've figured out the arm and leg dilemma. His legs are slightly uneven but that's because I didn't figure it out until I got to the arms. For the arms I made a sausage shape then cut it in half so they were the same length and thickness. Here he is all finished.

Monday 12 August 2013

Halloween Project; Frankenstein

I've got some ideas for Halloween figures & this is my Frankenstein.

Mike Wazowski Monsters Inc.

I'm in love with this little fellow!!! He is sort of unfinished, as I'm undecided as to whether or not to give him arms & legs. I kind of like him just the way he is.... What do you think?

Angry Bird Chuck

So I gave the minion to my sister to use as her desk mascot at work. And the very next day I got a request from one of her colleagues for Chuck, the Angry Bird. Eager for a new challenge, I got started right away.
I really like this one. I think I'm going to enjoy him for just a little longer before he goes off to his new home. Oh well, at least he will have the Minion to keep him company!

Needle Felt Mouse

I love this little mouse. it's not very life like, but he's quite cute. Just playing around with different shapes & techniques.

Minion from Despicable Me.

My next creation was a Minion from Despicable Me 2. Modelled on a happy meal toy from McDonalds! lol.
My sister really, really wanted this minion for her desk at work. I told her she could only have it if she came with me that day on one of the funfair rides (one of those circular cages that spins round then up in the air, ha ha ha), as we were at the fair that day. She eventually caved in & came on the ride with me, so I had to give him up. I'll be honest, I was gutted to let him go!!!

Paper Mache Easter Egg Surprises

So, I decided that instead of buying Easter eggs for the kids this year, I would make them something fun and personalise them. And what is more fun than paper Mache (fun for me anyway!)

I decided the easiest way to make the paste was with PVA Glue mixed with water. I used small balloons and did 2 or 3 layers of paper Mache allowing to dry fully between layers. I used one of those hanging things with pegs on, usually for drying socks and underwear, lol and hung the balloons near the radiator.

Then when dry I painted them different colours and decorated them in various styles. I then painted a layer of PVA glue all over and allowed to dry. This works like a varnish to give a nice shiny finish.

I then cut the eggs in half using a Stanley knife blade. I painted a layer of glue on the inside and lined with tissue paper.

The final part was to glue a thin ribbon round the outside to hold the egg together. Added a pretty name tag to the ribbon and then once it was all dry: filled it with Easter treats and tied it closed with the ribbon.

I think they look quite good for a first attempt. I haven't done paper Mache for years!